
DIY Living Room Wall-Mounted TV Stand Build
DIY Living Room Wall-Mounted TV Stand Build
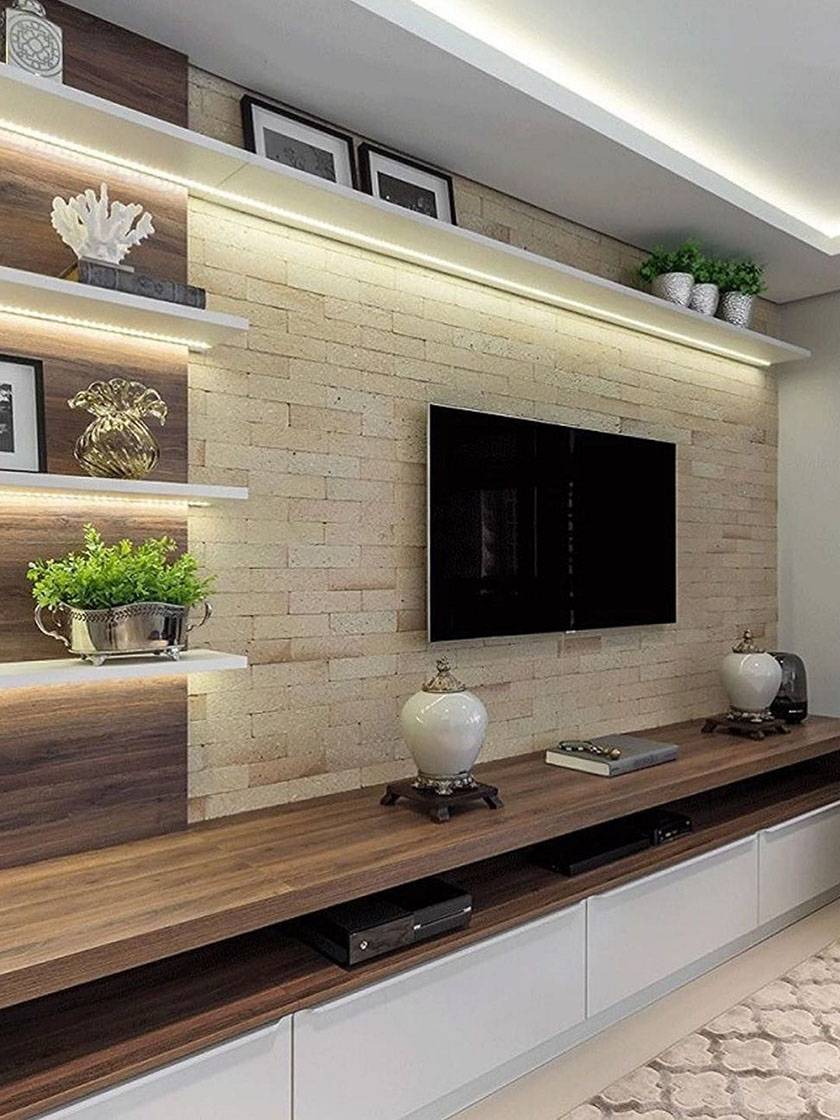
If you're looking for a way to free up space in your living room, a wall-mounted TV stand is a great option. Not only does it keep your TV off the ground, but it also creates a more streamlined look. Plus, it's a relatively easy project to DIY.
In this article, we'll walk you through the steps of building your own wall-mounted TV stand. We'll provide detailed instructions and tips, so you can be sure that your project is a success.
Materials

For this project, you'll need the following materials:
- 2 - 2x4s (10 feet long)
- 2 - 2x4s (8 feet long)
- 2 - 2x4s (6 feet long)
- 2 - 2x4s (4 feet long)
- 1 - 4x4 (8 feet long)
- 1 - sheet of plywood (3/4 inch thick)
- 1 - sheet of MDF (1/2 inch thick)
- 1 - box of wood screws
- 1 - box of drywall screws
- 1 - can of wood stain or paint
- 1 - roll of weatherstripping
- 1 - package of wall anchors
Tools
You'll also need the following tools to complete this project:
- Saw
- Drill
- Sander
- Measuring tape
- Level
- Pencil
- Safety glasses
- Work gloves
Instructions

- Cut the wood.
The first step is to cut the wood to the following dimensions:
- 2 - 2x4s (10 feet long) cut to 30 inches long
- 2 - 2x4s (8 feet long) cut to 24 inches long
- 2 - 2x4s (6 feet long) cut to 18 inches long
- 2 - 2x4s (4 feet long) cut to 12 inches long
- 1 - 4x4 (8 feet long) cut to 30 inches long
- 1 - sheet of plywood (3/4 inch thick) cut to 30 inches by 48 inches
-
1 - sheet of MDF (1/2 inch thick) cut to 30 inches by 48 inches
-
Assemble the frame.
Once you have all of the wood cut to size, you can begin assembling the frame. To do this, you will need to connect the 2x4s together using wood screws.
Start by attaching the two 10-foot 2x4s to the 24-inch 2x4s using two wood screws each. Then, attach the two 8-foot 2x4s to the 18-inch 2x4s using two wood screws each. Finally, attach the two 6-foot 2x4s to the 12-inch 2x4s using two wood screws each.
You should now have a rectangular frame that is 30 inches by 48 inches.
- Attach the plywood and MDF to the frame.
Next, you will need to attach the plywood and MDF to the frame. To do this, you will need to use wood screws.
Start by attaching the plywood to the front of the frame. Then, attach the MDF to the back of the frame.
- Drill the holes for the TV.
Once the plywood and MDF are attached to the frame, you will need to drill the holes for the TV. To do this, you will need to measure the dimensions of your TV and mark the locations of the holes on the plywood.
Then, use a drill to drill the holes. Make sure that the holes are large enough to accommodate the TV's mounting brackets.
- Attach the TV to the wall.
Once you have drilled the holes for the TV, you can attach it to the wall. To do this, you will need to use wall anchors and screws.
Start by attaching the wall anchors to the wall at the locations where you drilled the holes for the TV. Then, attach the TV to the wall using the screws.
- Install the weatherstripping.
Finally, you will need to install the weatherstripping. To do this, you will need to cut the weatherstripping to size and then attach it to the edges of the frame.
The weatherstripping will help to keep dust and debris out of the TV stand.
